Essential Wall Preparation for Painting Success
Painting your walls can transform a space, but the secret to a flawless finish lies in proper wall preparation. Many people underestimate the importance of preparing the walls before applying paint, leading to unsatisfactory results. In this post, we will explore the essential steps for wall preparation that will ensure your painting project is a success.

Understanding the Importance of Wall Preparation
Before diving into the steps of wall preparation, it’s crucial to understand why this process is so important. Proper wall preparation can:
Enhance Paint Adhesion: A clean and smooth surface allows paint to adhere better, reducing the chances of peeling or chipping.
Improve Aesthetics: Well-prepared walls create a more professional and polished look.
Extend Longevity: Proper preparation can help your paint job last longer, saving you time and money in the long run.
Assessing the Condition of Your Walls
The first step in wall preparation is to assess the condition of your walls. Look for the following issues:
Cracks and Holes: Inspect for any cracks or holes that need filling. Small cracks can often be filled with spackle, while larger holes may require patching compound.
Peeling Paint: If you notice any areas where the paint is peeling, these spots will need to be scraped and sanded down.
Mold or Mildew: Check for any signs of mold or mildew, especially in damp areas. These should be treated before painting.
Cleaning the Walls
Once you’ve assessed the condition of your walls, the next step is to clean them thoroughly. Here’s how to do it effectively:
Dusting: Start by dusting the walls with a microfiber cloth or a duster to remove any loose dirt and debris.
Washing: Use a mixture of warm water and mild detergent to wash the walls. A sponge or soft cloth works well for this. Pay special attention to areas that may have grease or stains.
Rinsing: After washing, rinse the walls with clean water to remove any soap residue. Allow the walls to dry completely before moving on to the next step.
Repairing Imperfections
Now that your walls are clean, it’s time to address any imperfections. Here’s how to repair common issues:
Filling Cracks and Holes
Small Cracks: Use a putty knife to apply spackle to small cracks. Smooth it out and allow it to dry according to the manufacturer’s instructions.
Larger Holes: For larger holes, use a patching compound. Apply it with a putty knife, feathering the edges to blend it with the surrounding wall. Once dry, sand it smooth.
Sanding the Walls
After repairs have dried, sanding is essential for achieving a smooth surface. Use fine-grit sandpaper to sand down any patched areas and rough spots. Be sure to wear a mask to avoid inhaling dust.
Priming the Walls
Priming is a crucial step that many DIYers skip, but it can make a significant difference in the final result. Here’s why you should prime:
Seals Repairs: Primer seals any repairs made to the wall, ensuring an even finish.
Improves Coverage: It helps the paint cover better, especially if you are making a significant color change.
Enhances Adhesion: Primer provides a better surface for the paint to adhere to, reducing the risk of peeling.
Choosing the Right Primer
Select a primer that suits your wall type and the paint you plan to use. For example, if you are painting over a dark color, a tinted primer can help achieve better coverage.
Choosing the Right Paint
Once your walls are prepared and primed, it’s time to choose the right paint. Consider the following factors:
Finish: Different finishes (matte, eggshell, satin, semi-gloss, gloss) have different levels of sheen and durability. Choose based on the room’s function and desired look.
Color: Test paint samples on your walls to see how they look in different lighting conditions.
Quality: Invest in high-quality paint for better coverage and durability.
Painting Techniques
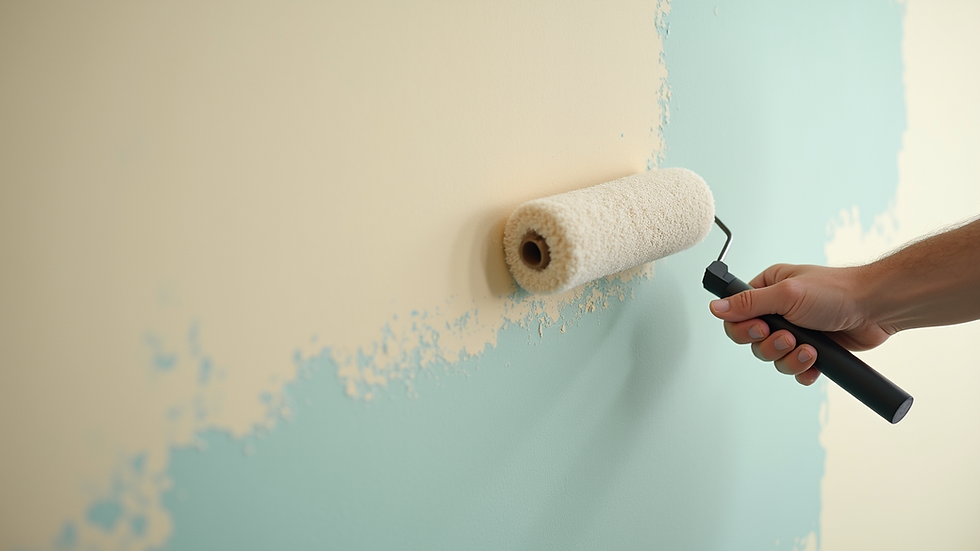
With everything prepared, it’s time to paint. Here are some tips for a successful application:
Use Quality Tools: Invest in good brushes and rollers. A high-quality brush will provide a smoother finish, while a roller can cover large areas quickly.
Start with Edges: Use a brush to cut in around edges, corners, and trim before using a roller on the larger areas.
Apply Multiple Coats: Depending on the color and finish, you may need to apply multiple coats. Allow each coat to dry completely before applying the next.
Final Touches
After the final coat of paint has dried, take a moment to inspect your work. Look for any missed spots or imperfections and touch them up as needed.
Cleaning Up
Once you’re satisfied with the paint job, clean your brushes and rollers according to the paint type used. Dispose of any waste materials responsibly.
Conclusion
Proper wall preparation is the foundation of a successful painting project. By taking the time to assess, clean, repair, and prime your walls, you can achieve a beautiful and long-lasting finish. Remember, the effort you put into preparation will pay off in the end, resulting in a space that looks fresh and inviting. So, gather your tools, follow these steps, and get ready to transform your walls!

Comments